
 Figurine
 Charm
 Magnet
 Relief
 Vent clip
 Tray
You can make a custom 3D figure from a photo at home, but it’s more involved than ordering
Yes, you can DIY a photo‑to‑figure using a home 3D printer or AI tools, though it takes more skill, time and cost than a ready‑made service.
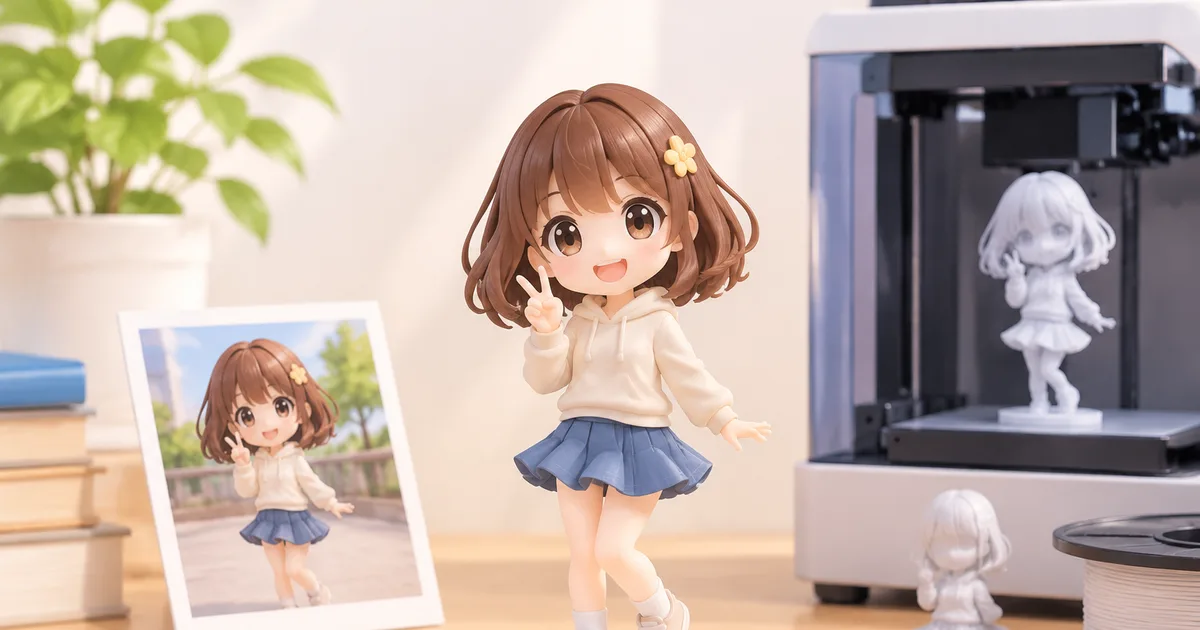
Yes—you can create a custom 3D‑printed figure from your own photo using a home printer or AI tools, though it requires more time, skill, and expense than ordering a ready‑made service.
Understanding the DIY Workflow
1. Capture a suitable photo
A clear, well‑lit image with minimal background clutter is essential. For photogrammetry you’ll need at least 20‑30 overlapping shots taken from different angles; for AI‑generated meshes a single high‑resolution portrait can be enough, but a neutral pose and even lighting improve the result.
2. Convert the photo to a 3D mesh
Two main routes exist. Photogrammetry software (e.g., Meshroom, RealityCapture) stitches multiple photos into a dense point cloud and then creates a mesh. AI‑based generators such as Kaedim, DeepMotion, or Stable Diffusion‑3D accept a single image and output a low‑poly model that can be refined later. Both methods produce a raw .obj or .stl file that still needs cleaning.
3. Clean and edit the mesh
Raw meshes often contain holes, stray vertices, or non‑manifold edges. Open‑source tools like Blender or Meshmixer let you fill holes, simplify topology, and add or adjust details (e.g., hair, clothing). If you lack modelling experience, start with automatic repair functions and only make small manual tweaks.
4. Prepare for printing
Scale the model to the desired height (most hobby printers handle 10‑200 mm comfortably). Position the figure to minimize overhangs and add supports where needed. Export the final file as .stl and import it into a slicer (PrusaSlicer, Cura) to generate G‑code. Verify layer height, infill, and wall thickness according to the material you’ll use.
5. Post‑processing
After printing, remove supports carefully with pliers or cutters. Sand the surface gradually with fine grit (400‑800) to eliminate layer lines. Apply a primer suitable for the filament (PLA, PETG, resin) before hand‑painting. Acrylic paints work well for most hobby‑grade prints; a clear coat adds durability.
Tools and Software Options
- AI 3‑D generators – Kaedim, DeepMotion, DreamFusion‑style services (often cloud‑based, may require a subscription).\n- Photogrammetry suites – Meshroom (free), RealityCapture (paid, trial available).\n- Mesh editing – Blender (free, steep learning curve), Meshmixer (free, simpler UI).\n- Slicers – Cura, PrusaSlicer, Simplify3D (paid).\n- Painting & finishing – Acrylic paints, hobby brushes, spray primers.
Cost and Time Comparison
| Item | DIY approach | Ordering from Figmee |
|---|---|---|
| Equipment | Home printer (~$200‑$500) + optional resin vat | No equipment needed |
| Materials | Filament or resin ($20‑$60 per print) | Included in service price |
| Software | Mostly free, some paid AI services | Figmee’s web preview is free |
| Learning curve | Moderate to high (photogrammetry, mesh repair, printing) | None – just upload a photo |
| Turn‑around time | Hours for capture, processing, printing, and finishing (often 1‑3 days of active work) | Usually a few days of shipping after preview approval |
In practice, a hobbyist can finish a small figure in a weekend if the printer is already calibrated. The total material cost is comparable to a single Figmee order, but the hidden costs are time spent troubleshooting failed prints, learning software, and post‑processing labor.
Common Pitfalls and How to Mitigate Them
- Mesh errors – Non‑manifold edges cause slicer failures. Run an automatic repair (Meshmixer’s “Make Solid”) before slicing.
- Scale mismatches – Photogrammetry may misinterpret real‑world dimensions. Measure a known reference (e.g., a ruler) in the photos and apply the same scale in the software.
- Support removal marks – Over‑supporting creates blemishes. Use tree‑style supports and orient the model to reduce contact points.
- Paint adhesion – PLA can repel paint if not primed. Lightly sand, clean with isopropyl alcohol, then apply a thin primer coat.
- Cost overruns – Failed prints waste material. Print a small test piece of the base before committing to the full figure.
Figmee’s Data Snapshot
Figmee has generated 1,282 figure previews in total, and 38 % of those previews were chosen in an anime style, showing a strong community preference for stylized looks. Additionally, 264 customers have elected to publish their results to the public gallery, providing a useful reference for what a finished, professionally printed figure looks like.
For more background on the DIY trend, see Figmee’s blog post on the subject (https://figmee.com/blog/diy-figures).
FAQ
How accurate can a DIY figure be compared to a professional service?
Accuracy depends on photo quality, the 3D generation method, and how well you clean the mesh. Photogrammetry can capture fine geometry but may introduce noise; AI generators are fast but often produce lower‑detail meshes that need manual refinement.
Do I need a high‑end 3D printer to make a decent figure?
No. A reliable hobby‑grade FDM printer (e.g., Prusa i3, Creality Ender series) can produce satisfactory results for figures under 150 mm tall. Resin printers give finer detail but are more expensive and require careful handling.
What software is best for beginners?
Start with Meshroom for photogrammetry (free) and Meshmixer for mesh repair (also free). For AI‑generated models, many services provide a simple web UI that outputs an .stl ready for slicing.
Can I sell figures I print myself from my own photos?
Legal considerations vary by jurisdiction and by the likeness you are reproducing. If the photo contains recognizable people or copyrighted characters, you may need permission before commercial distribution.
Want to turn a photo into a figure?
Previews are free. Order only once you're happy with what you see.
Try it for free